Article
The “Related Listings” feature has been redesigned to offer incredible versatility through different relation types, two-way relations, and more configurable settings which we’ll explain below.
Let’s start by showing how the new field settings look, then go through everything step-by-step.

The “Related To” setting
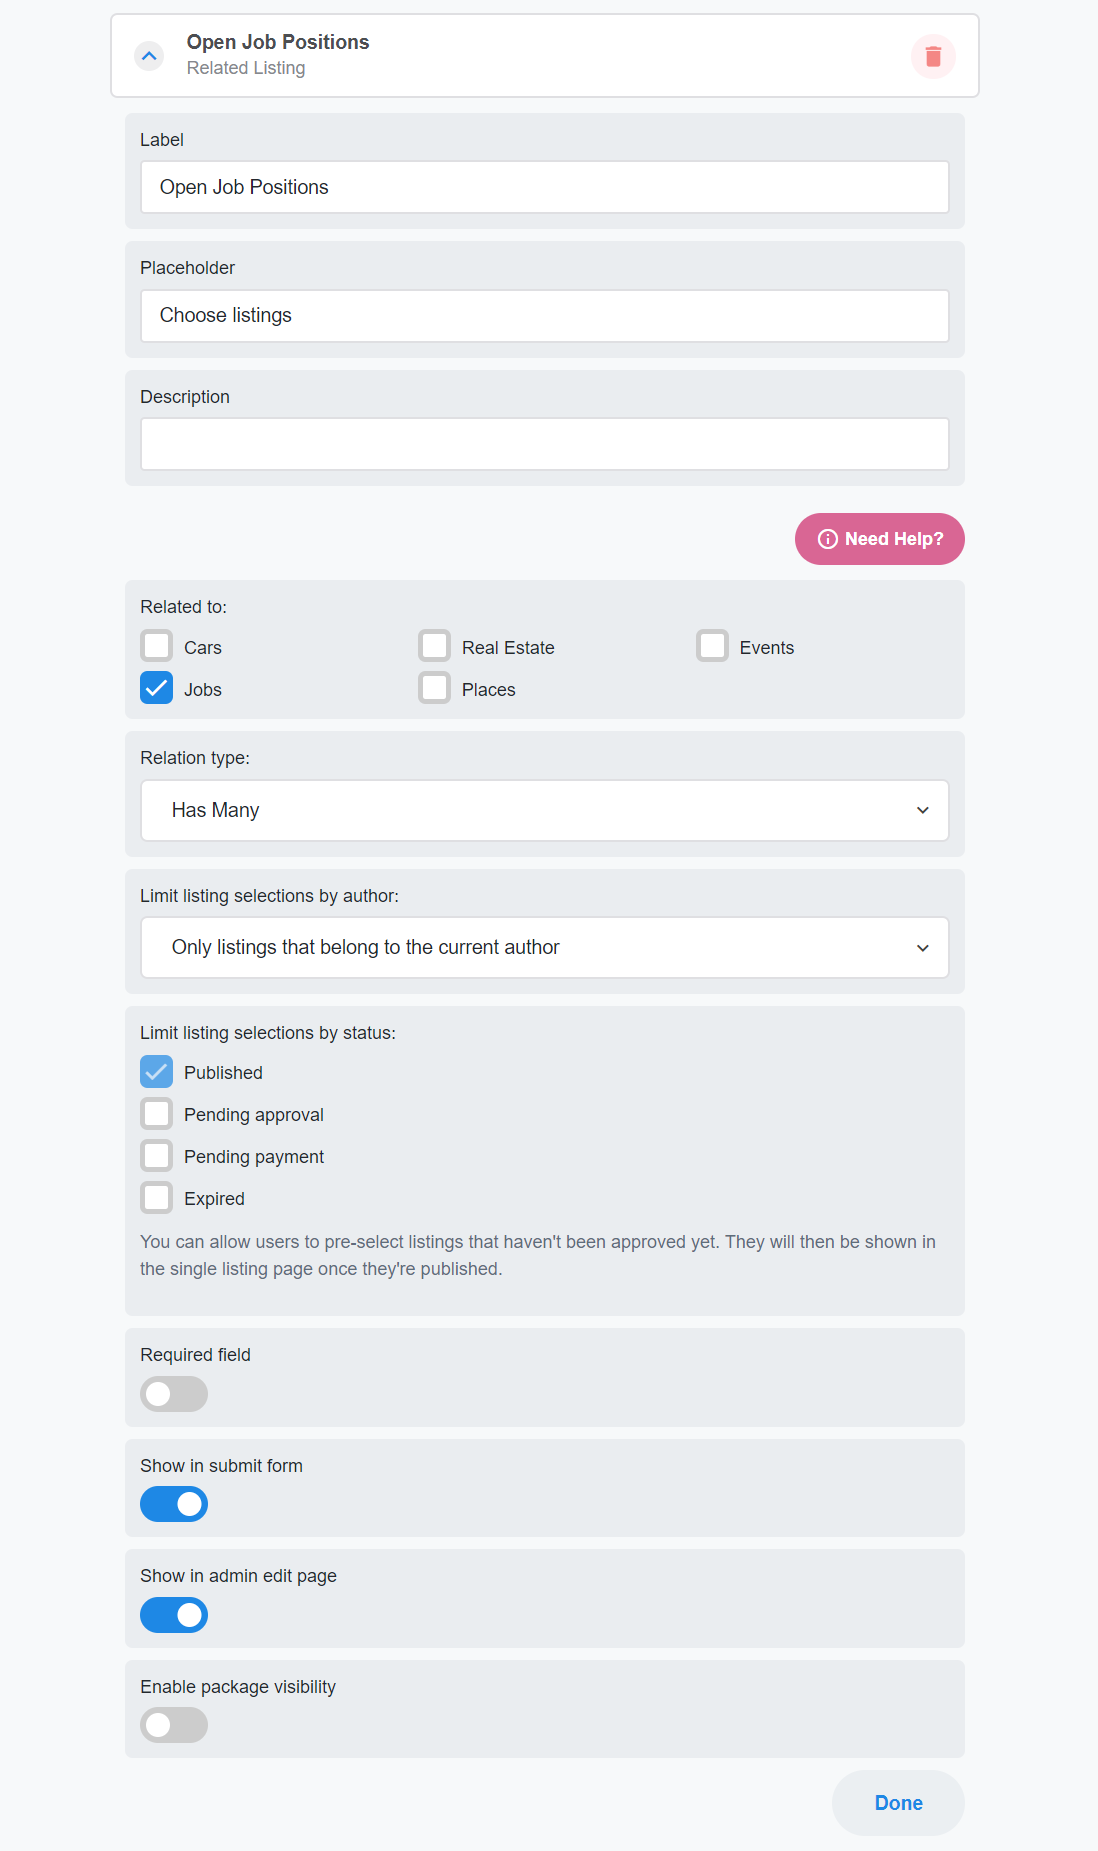
This setting allows you to set what type of listings you’re allowing on this field. All listing types registered on your site will be listed as checkboxes. This also means that the relations are no longer limited to only one other listing type — you can choose one or more types from the list, if your use-case requires that.
Limit listing selections by author
This settings lets you set whether the user can select only listings that belong to them, or all listings that belong to any author.
Limit listing selections by status
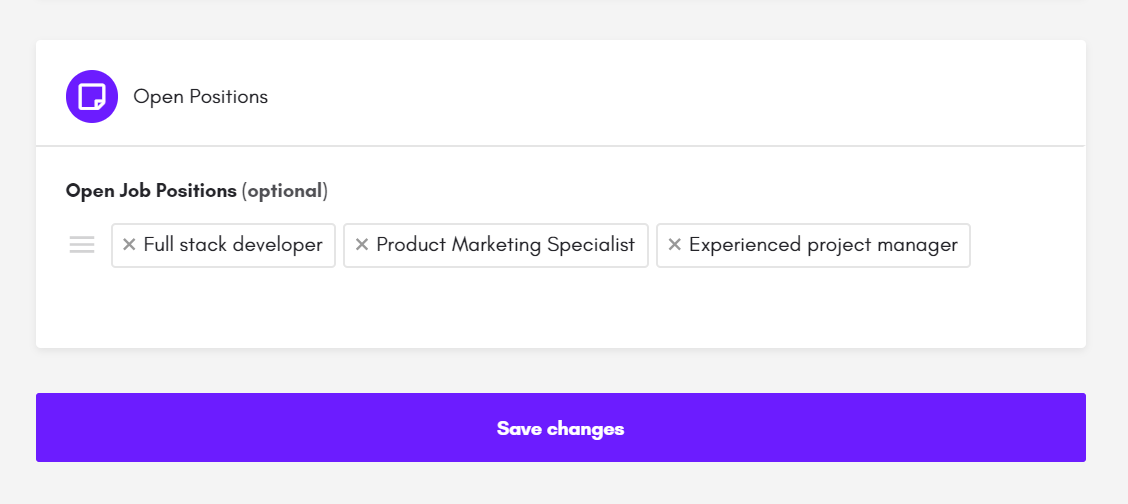
You can also allow users to pre-select listings that haven’t been approved yet. They will then be shown in the single listing page once they’re published.
Four possible relation types
There are four possible relation types supported, which cover a wide range of possible use cases: Has One, Has Many, Belongs To One, and Belongs To Many.
We’ll explain how each of these relations work and how you can incorporate them with your existing listing types.
Has One and Belongs to One
This relation can be used if the active listing is related to one other listing. For
example, an Event listing can have only one Place listing it’s related to, and a Job listing can only have one Company listing that it belongs to.
The only difference between Has One and Belongs To One relations is that Has One treats the active listing as the parent and the related listing as the child in the relation; while Belongs To One treats the active listing as the child and it’s related listing as the parent in the relation.
Has Many and Belongs To Many
This relation can be used if the active listing is related to multiple other listings. For example, a Place listing can have multiple Event listings it’s related to, and a Company listing can have multiple Job listings it’s related to.
Has Many treats the active listing as the parent and all it’s related listings as child listings in the relation; while Belongs To Many treats the active listing as the child and all related listings are treated as parent listings in the relation.
In most cases, it doesn’t matter which listing is treated as parent and which as child. This is only important if you’re setting up two-way relations, which will be explained next.

How do Two-Way relations work
Let’s take an example: A Company listing can have multiple Job listings, and a Job listing will have one Company listing that it belongs to. Through Two-Way relations, we can sync the related listing field value across both the Company and it’s jobs, which makes managing relations much easier as you’ll only have to edit them on one listing and it will automatically be updated everywhere.
In that case:
- Editing a Company and assigning some Job listings to it will also update each of those jobs and assign the Company as their related listing
- Editing a Job listing and assigning a company to it will also update the Company listing and apply this Job as one of it’s related listings
How to set up two-way relations
Following up on the example above:
1. First, we need to define which side of the relation will be the parent and which the child. In this case, we can treat the Company as the parent, and Jobs as the children.
2. In the Company listing type, we can use the Related Listing field, and configure it as follows:
1. Set the Related To setting to Jobs
2. Set the Relation Type to Has Many (since a company can have multiple job listings)
3. In the Job listing type we should configure the Related Listing field as follows:
1. Set the Related To setting to Company
2. Set the Relation Type setting to Belongs To One (since a job listing can only belong to one company listing)
4. If you’re using a custom “Related Listing” field instead of the default preset, then you must also make sure the field key is the same in both listing types.
5. That’s it — the Related Listing field is now synced among the Company and its Job listings.
To sum it up, for two way relations to work, one side of the relation must have the relation type set to either “Has One” or “Has Many”, and the other side must be set to either “Belongs To One” or “Belongs To Many”. The Related Listing field key must also match on both listing types.
Is it possible to have multiple related listing fields
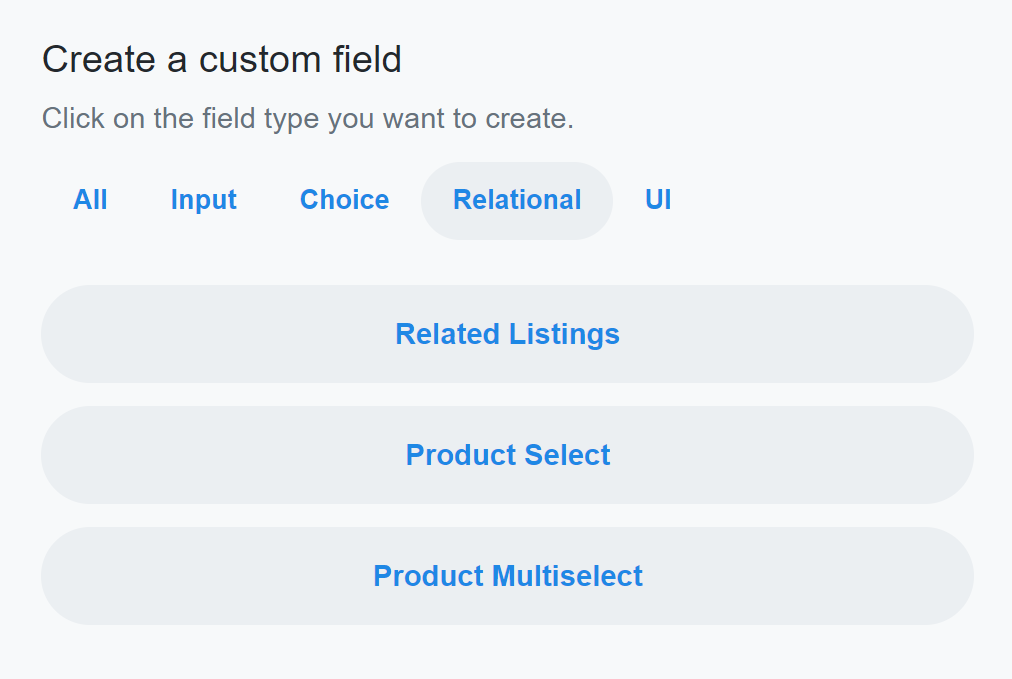
Yes — apart from the preset Related Listing field, you can also create custom related listing fields in the Fields tab > Create a Custom Field > Relational, and choose Related Listings from the list.

How to display related listings
You can display related listings in the frontend in multiple ways:
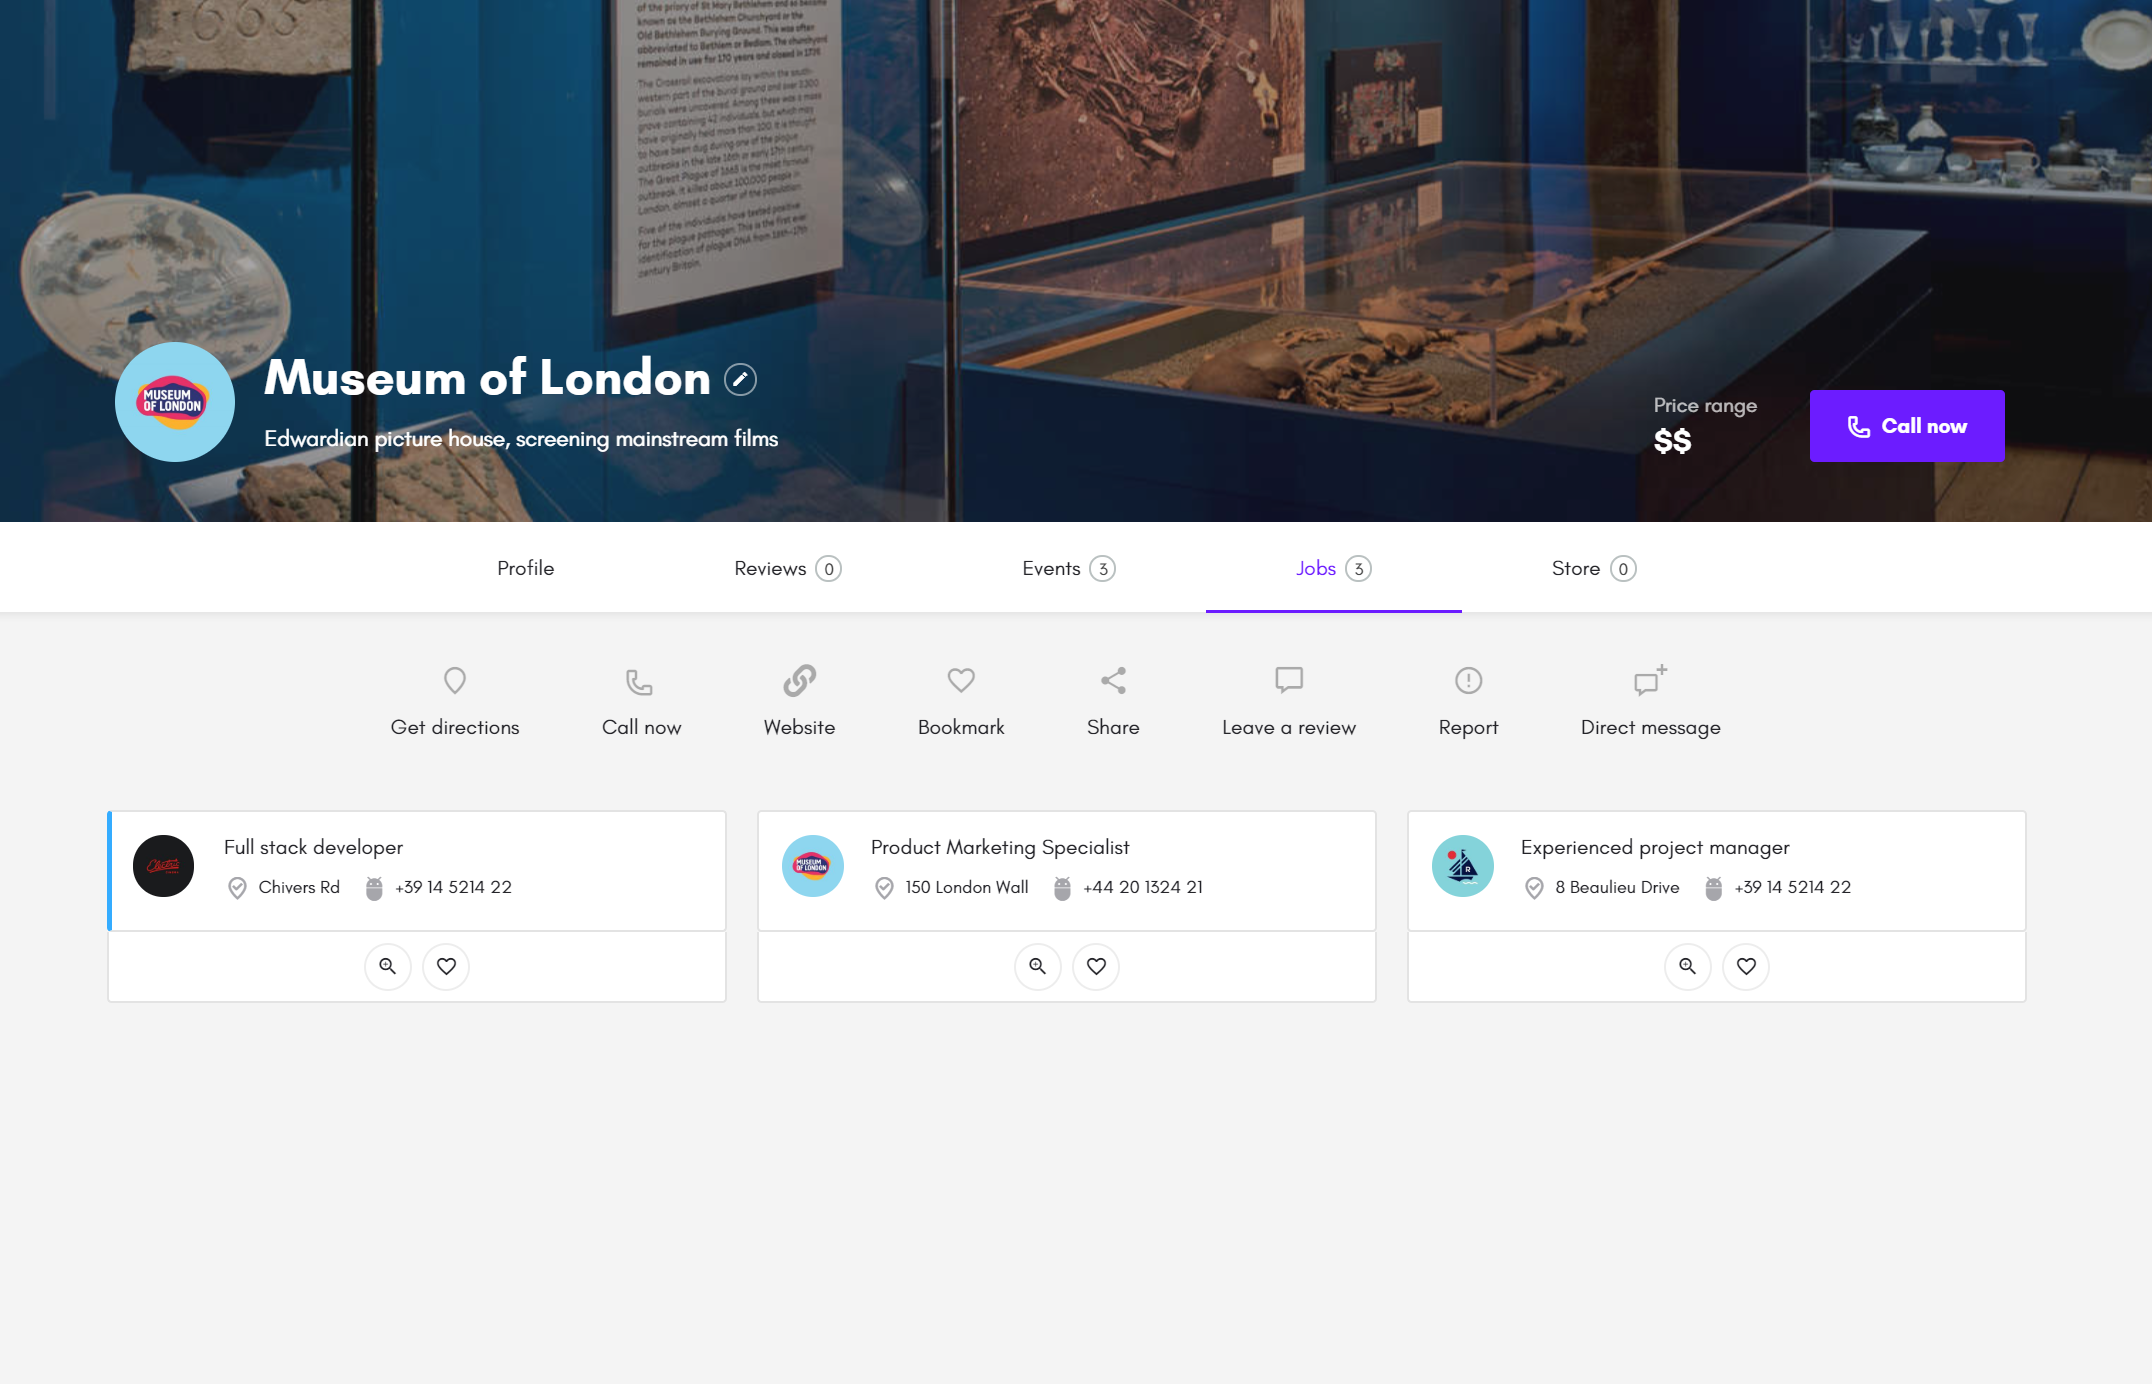
1. As a tab in single listing page — you can create a new “Related Listings” tab, and choose the Related Listing field to fetch listings from.
2. As a content block in single listing page — you can add the “Related Listing” content block to the profile tab or within a custom tab.
3. In the preview card, under “Footer sections” you can add a “Related Listing” section.

How to use the Related Listing filter in Explore page
It is also possible to use Related Listing fields as Explore page filters. This can be done through the new Related Listing filter in Search Forms > Advanced Form and Search Forms > Basic Form within the listing type editor.